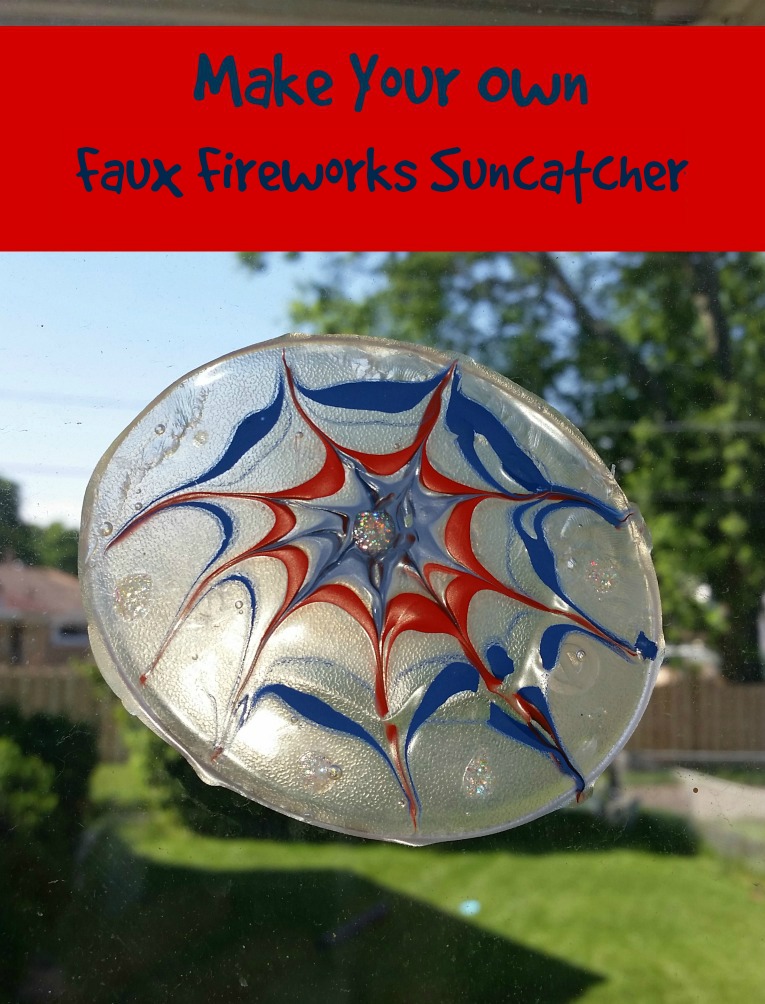
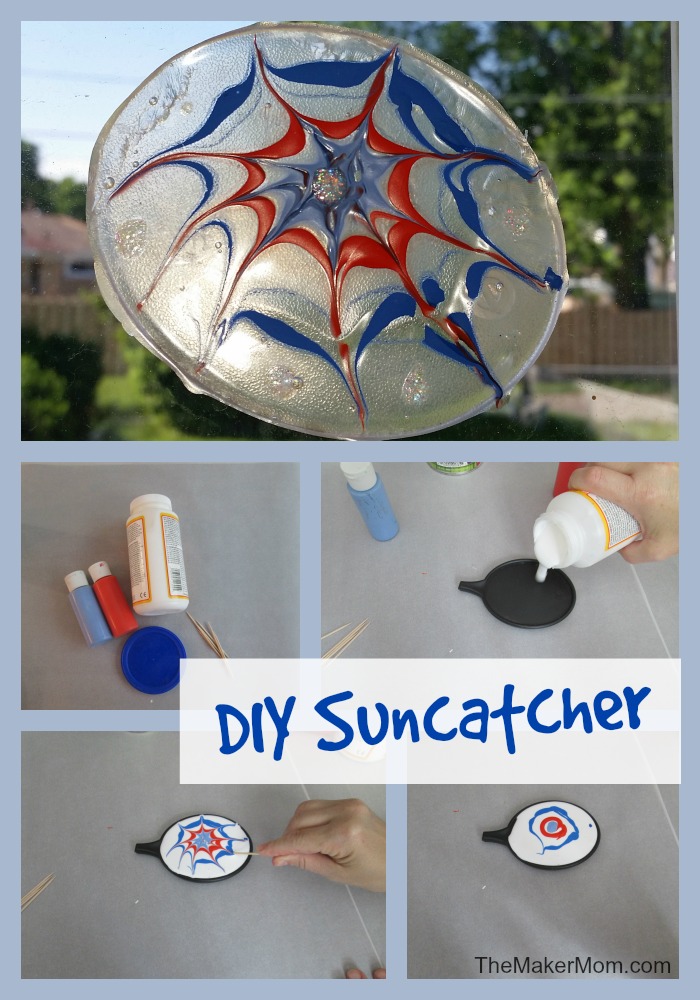
July 4th– time for picnics, parades and fun with friends and neighbors. We leave the real fireworks to the pros, but that doesn’t mean we’re not inspired by them. In fact, it’s easy to make festive shirts featuring bright bursts of color. And you can decorate your house with faux fireworks suncatchers. Your guests are sure to ooh and ahhh over these deceptively simple designs. And when I say this craft is for the birds, I mean that in a good way, which I’ll explain after the tutorial. Get ready to create an entire display of faux fireworks on your favorite window with these easy DIY suncatchers that also work as window clings.
This is the second activity I’m sharing as part of my relationship with GOJO Industries, the makers of PURELL® Advanced Hand Sanitizer. Did you get a chance to try your hand at the first activity, making seed balls? That was more of an outdoor activity. You might feel comfortable making these suncatchers right on your kitchen table.
This project is fairly self-contained, but if your kids are anything like my boys, they have the potential to turn even the simplest hands-on craft into wild performance art. But what’s a little mess? As my son’s driving instructor (gulp) reminded me yesterday, “Someday you’ll be longing for those crazy days with little kids.”
Speaking of nostalgia, remember that feeling peeling off dried glue from your fingertips? I loved it. You’ll get to do it and introduce your kids to it, too.
I believe in messes for the sake of hands-on artistic and scientific exploration, and sometimes even just for fun. But I also believe in keeping clean and healthy, which is why I enjoy working with PURELL Advanced Hand Sanitizer. We both believe in wiping out the germs, but not the creativity.
So let’s get started; I’ve got GIFs and everything!
How to Make Easy DIY Suncatchers
Supplies
- Tablecloth or something to cover your workspace.
- Decoupage medium like Mod Podge- if you don’t consider that a household supply, find a bottle of white glue and mix it really well with water in a ratio of 2 parts glue to 1 part water.
- Acrylic paint- 2-3 colors.
- Clean plastic lids or other shallow container with about a 3-inch or larger diameter- as many as you can find. I looked around the house sampling different materials. The blue circle below is the lid from a can of cornstarch and the black object used to be a rear view mirror for a bicycle.
- Toothpicks- 1 or 2 per child.
- 6-8 inches of thin ribbon for hanging (optional).
Steps
Prepare your work area.
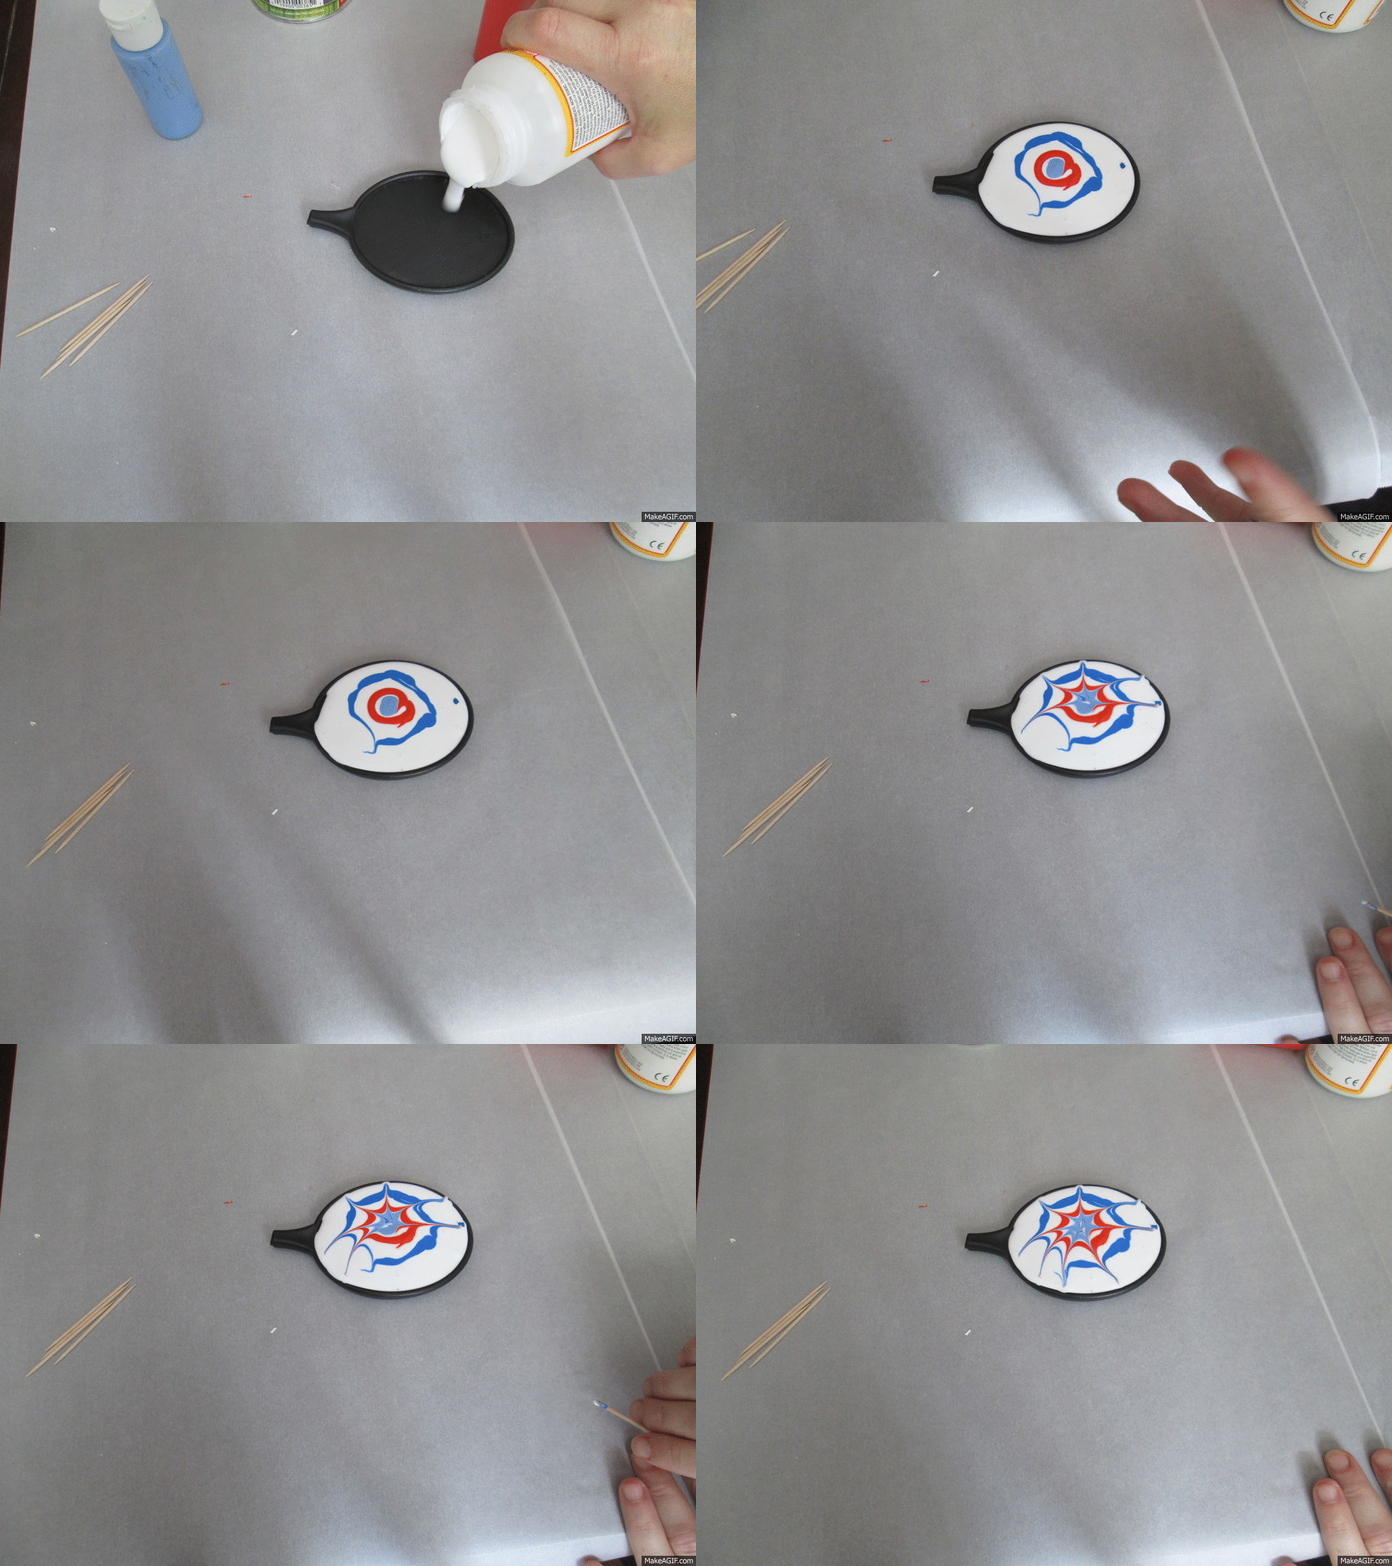
Cover a plastic lid or container with a thin layer of decoupage glue. The thicker the pool of liquid you create, the longer it will take to dry, so, parents, you probably want to help with this step.
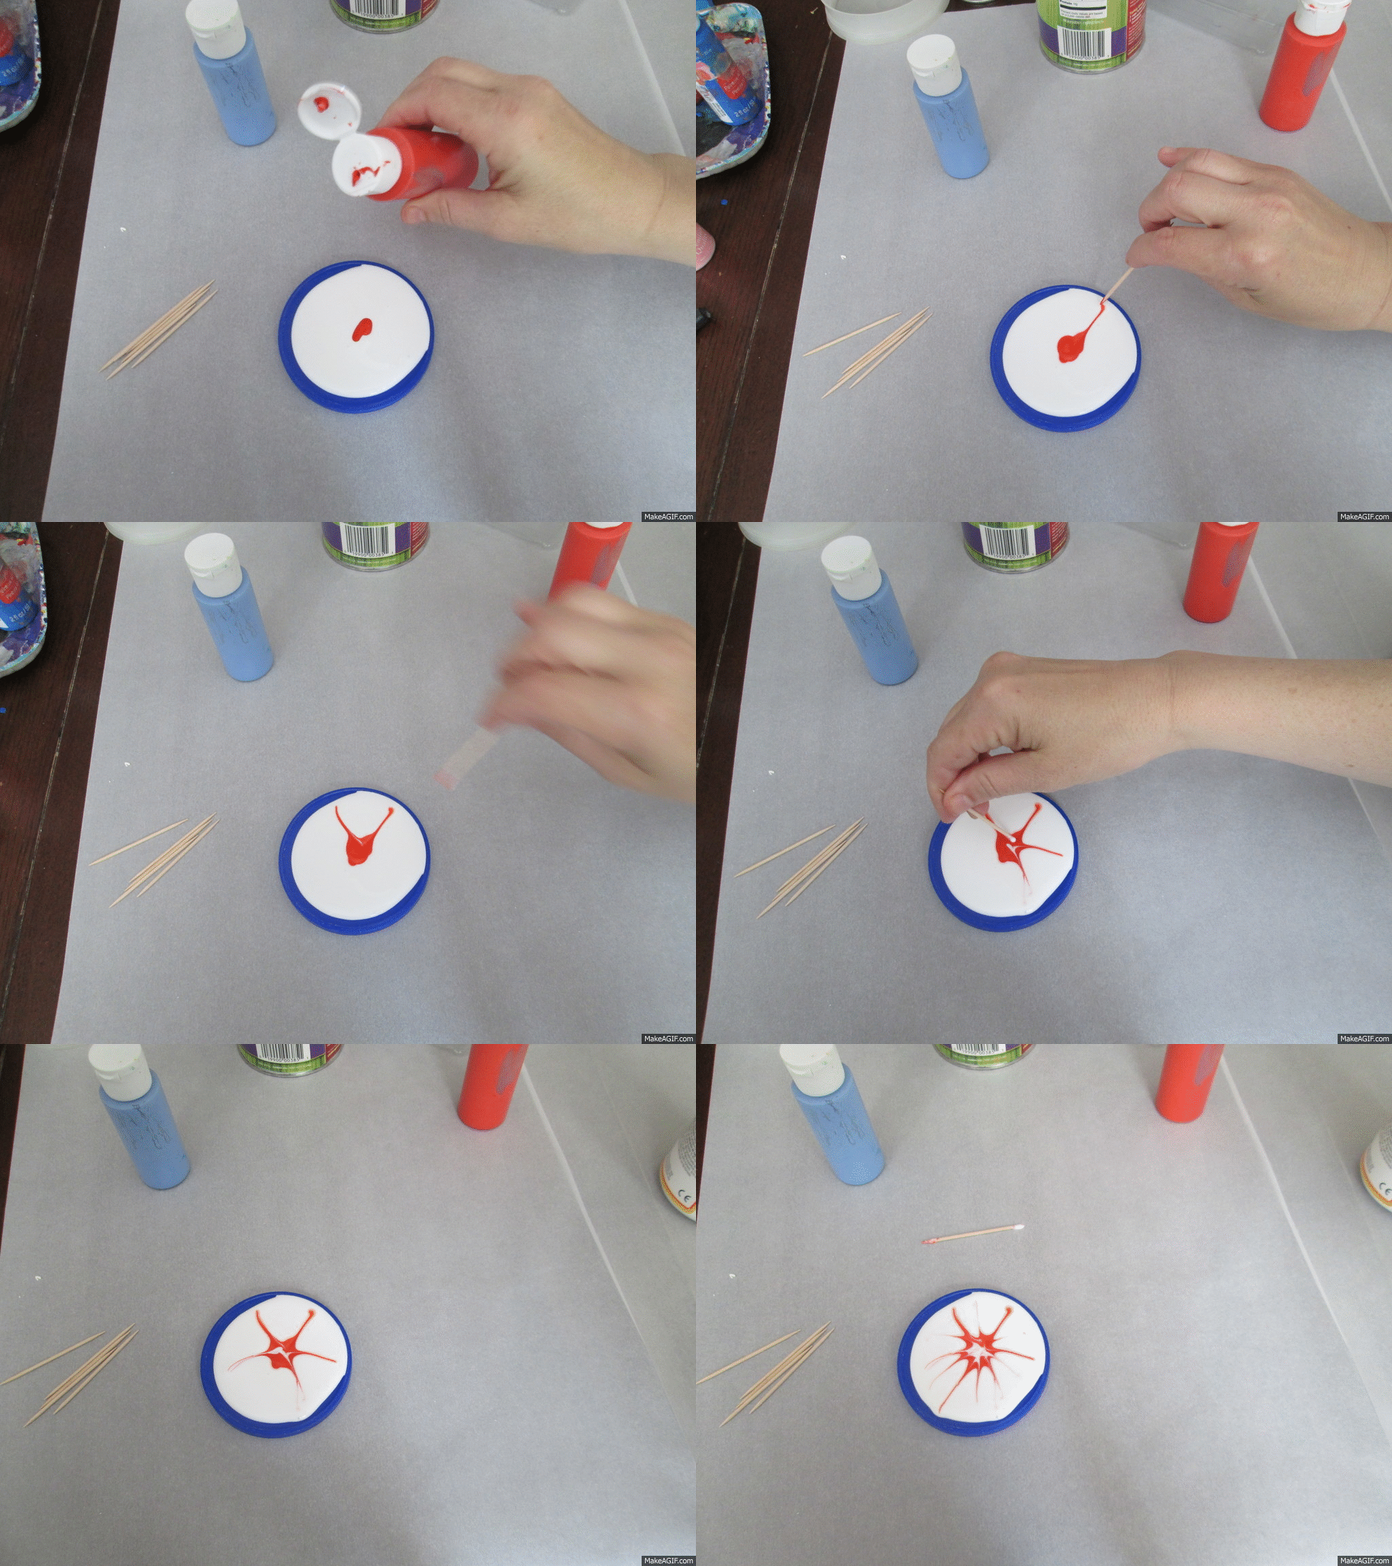
Add paint. You can see two methods below- in the top GIF, I add one small dot of paint and spread it with a toothpick to look like a firework. In the bottom GIF, I created concentric circles in different colors. Then I used the same technique for a more dramatic effect. Tiny fingers can also be used to drag the paint to the edges of the lid.
If you think you’re going to want to hang the suncatcher rather than use it as a window cling, attach ribbon to the wet glue, so you will have a built in hanger when it dries.
It’s fun to make these, but I find that less is more when it comes to the design. I encourage you to have lots of lids available so they can make several simple suncatchers that create a dazzling faux fireworks display. Then again, beauty is in the eye of the beholder, so if your child wants to go nuts with paint and the swirls, that’s your call. Just be sure to wipe their hands before they head off to jump on the white couch. But really, try and keep them at the table long enough for the glue to dry on the hands, so they can peel it off. Why is that so satisfying? Once they’re done peeling, wipe up their hands with PURELL® Hand Sanitizing Wipes, then send them to the white couch.
Watching the suncatcher cure is a bit more exciting than watching paint dry, but it’s a slow process. Drying can take anywhere from 3-7 days depending on the depth of your mold. Place them on a flat surface where they can rest undisturbed. Check in once a day, and you’ll be able to note the progress.
The decoupage medium in the freshly completed project is opaque, meaning that light will not shine through it. When the suncatcher is dry, the decoupage area will be translucent, meaning that some light will shine though, but it won’t be completely see-through, or transparent. As you can see in my finished version, the painted parts will remain opaque.
When it’s dry, carefully peel the suncatcher away from the plastic. You should be able to stick it on your window, but if you can’t, either glue on a bit of ribbon (ah, more waiting for it to dry!) or poke a hole in it through which to run a string or ribbon.
You’ll be able to create a display that’s eye-catching to humans as well as birds. Remember when I said this project was for the birds? Windows, especially large picture windows can be a danger for birds. Birds often collide with windows because the glass reflects the surroundings- grass, trees, bushes and open sky- they don’t realize they are flying smack dab into a solid surface until it’s too late.
Hanging objects in your window is one way to warn birds. To learn more about keeping neighborhood birds safe and, honestly, pretty much anything you’d ever want to learn about birds, take a virtual trip to the Cornell Lab of Ornithology.
I can’t wait to see the fabulous fireworks you create with your kiddos. Please share them with me on The Maker Mom Facebook page.


