I’m thrilled to have my talented friend sharing a project today. Artist Rachel Nador takes us through the process of creating a cell mosaic.
I’m what’s called a 3D modeller or 3D graphic artist. I’ve created 3D graphics for video games, film, web, medical and science software, and more. I have a traditional art background, and I like to balance my time on the computer with doing something tangible. Lately I’ve been creating mosaics.
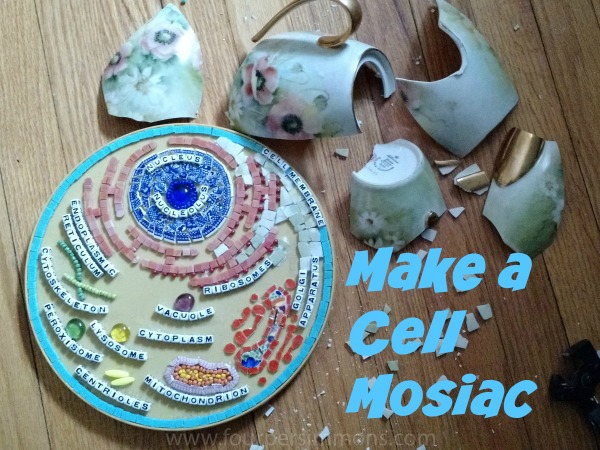
Years ago I created an animal cell 3D model for science software Cyber Science 3D. I thought the imagery one day would make a great mosaic. I also really like the idea of art in my house that is educational and functional, as I have a five and eight-year-old. So when I saw this small mustard-yellow plastic lazy susan at Goodwill for 99 cents, I saw potential.
How to Make a Cell Mosaic
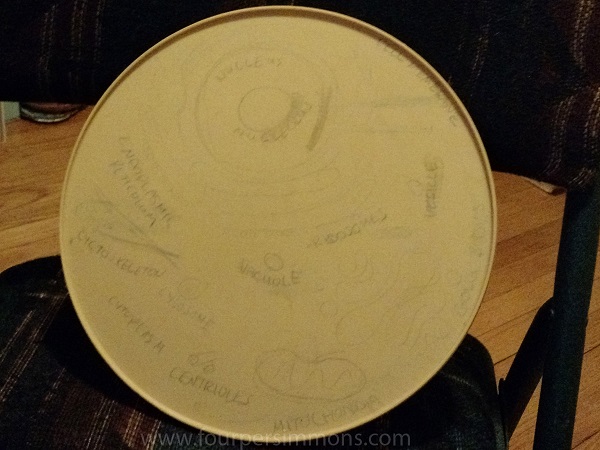
First I sketched out my design in pencil right on the surface (sorry this is hard to see!)
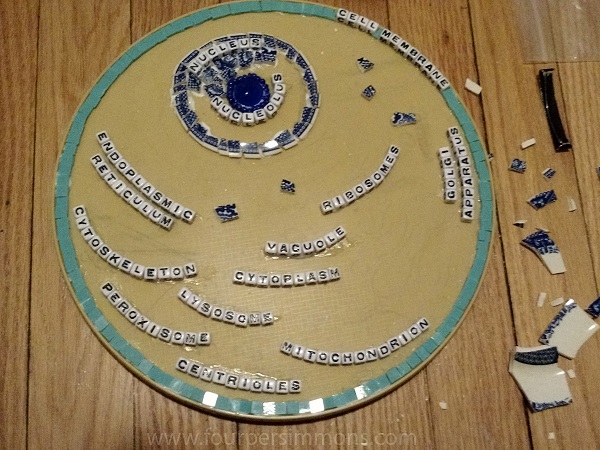
Then I laid out and glue down the names for the organelles using plastic letter beads. A lot of the organelles have long names, I wanted to make sure I could fit everything in. I glued down nucleolus too (a glass gem surrounded by beads) because I wanted the text to wrap closely around it.
Next I did the border. I used pre-cut opaque glass tile for this. I use lots of odds and ends in my mosaics, but I like a clean border. Also in this case, the border doubled as the cell membrane structure.
Then I laid out the organelles. I used more glass tile but also beads, glass gems, and broken china. I really like using broken china in my work. It gives my mosaics a more aged, organic feel– and it’s cheap! I get beautiful old plates for next to nothing at rummage sales, especially if they are chipped.
Initially I simply smash a piece with my tile nippers. If I want to be neat about it I put it in a paper bag. Then once it’s in fragments, I cut it up into deliberate pieces with tile nippers. The more curvy the original object (like a pitcher), the smaller the pieces have to be to lay flat on a mosaic. The tile nippers are available at home depot for ten bucks.
The blue china I used for the nucleus is very common and looks particularly wonderful chopped up. When I’m at rummage sales I also look for cheap jewelry to dissect for beads and for glass gems that people use to fill vases (I’ve used a few of these here too).
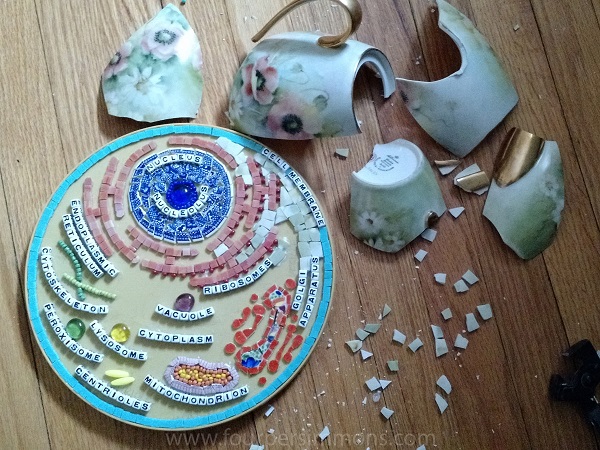
I struggled trying to think of what to use for the background. Then I remembered I had this broken china pitcher (I didn’t break it!) that my grandmother painted. The misty green background of the painting on the pitcher varied. When chopped up into little pieces, it made a wonderful background that wasn’t boring but still stayed in the background, if you know what I mean.
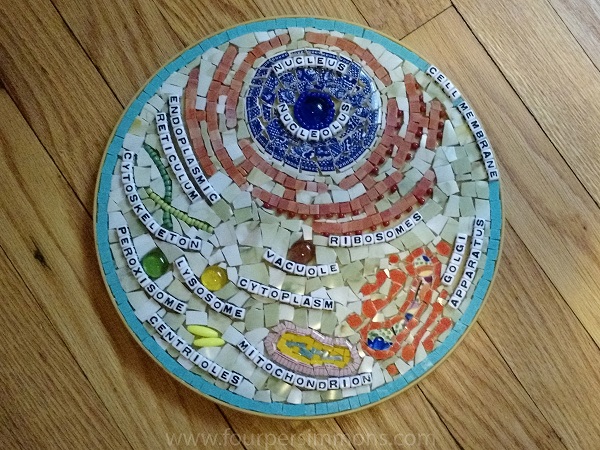
This is my mosaic all laid out, pre-grouting. At this point I also gutted the mitochondria and swapped out the beads I had in there with some blue plate shards and yellow glass tile.
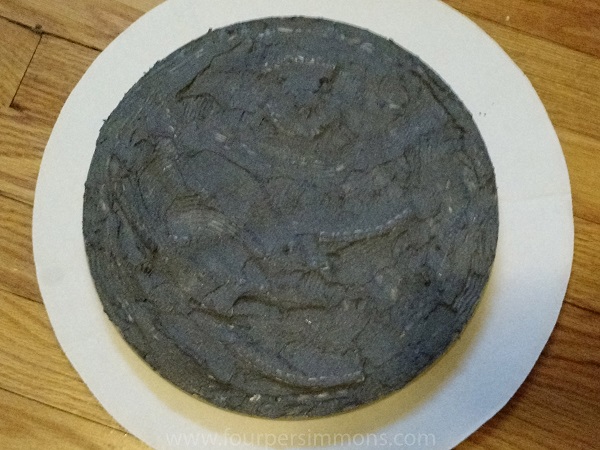
Grouting! This for me is the terrifying part. I worry that I’ve ruined everything, the grout is too dark or light, etc. I love using different materials but it makes grouting a real bear. You can’t just sweep a damp sponge across the surface and be done with it. In this case the letter beads I used stick way up, along with some of the larger beads and gems. And of course the plates shards are all different thicknesses, and there are larger glass gems and bead that stick up too.
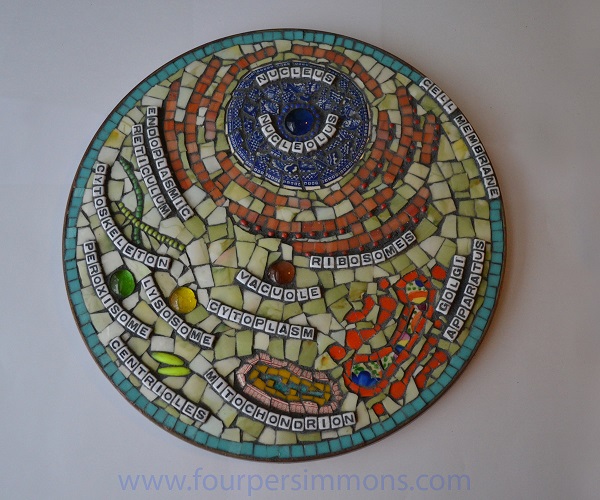
But I also love grouting because wiping away the grout is like revealing buried treasure.
Rachel Nador is a 3D graphics artist who also loves to create mosaics. Her professional 3D 

Love, love, love this. I’m a middle school science teacher and would love to make something like this.